Repo Conventions
Standard Workflow
Prerequisites
We'll be using VS Code as our default editor. You can download it here.
Download and install Github Pull Request extension.

- Ensure that you have the necessary permissions to access the Github organization.
Forking repository
Forking a repository is necessary to create a personal copy of a project's codebase. This copy allows you to make changes, experiment, and contribute to the project without directly affecting the original repository. Forking serves several essential purposes:
Isolation: When you fork a repository, you create a separate, independent copy. This isolation ensures that your work does not interfere with the original project or its contributors.
Collaboration: Forking enables collaborative development. You can make changes to your fork and propose those changes back to the original project through Pull Requests. This way, you can contribute to open-source projects or collaborate with team members on private repositories.
Version Control: Forking maintains a version control history of your changes. Each commit and branch you create in your fork is tracked, allowing you to manage and document your work effectively.
Ownership: You have ownership and control over your forked repository. This means you can manage access, settings, and permissions independently from the original project.
Experimentation: Forking is an excellent way to experiment with code modifications, test new features, or explore different directions for a project without affecting the main codebase.
- Select the Github Repo you are assigned to.
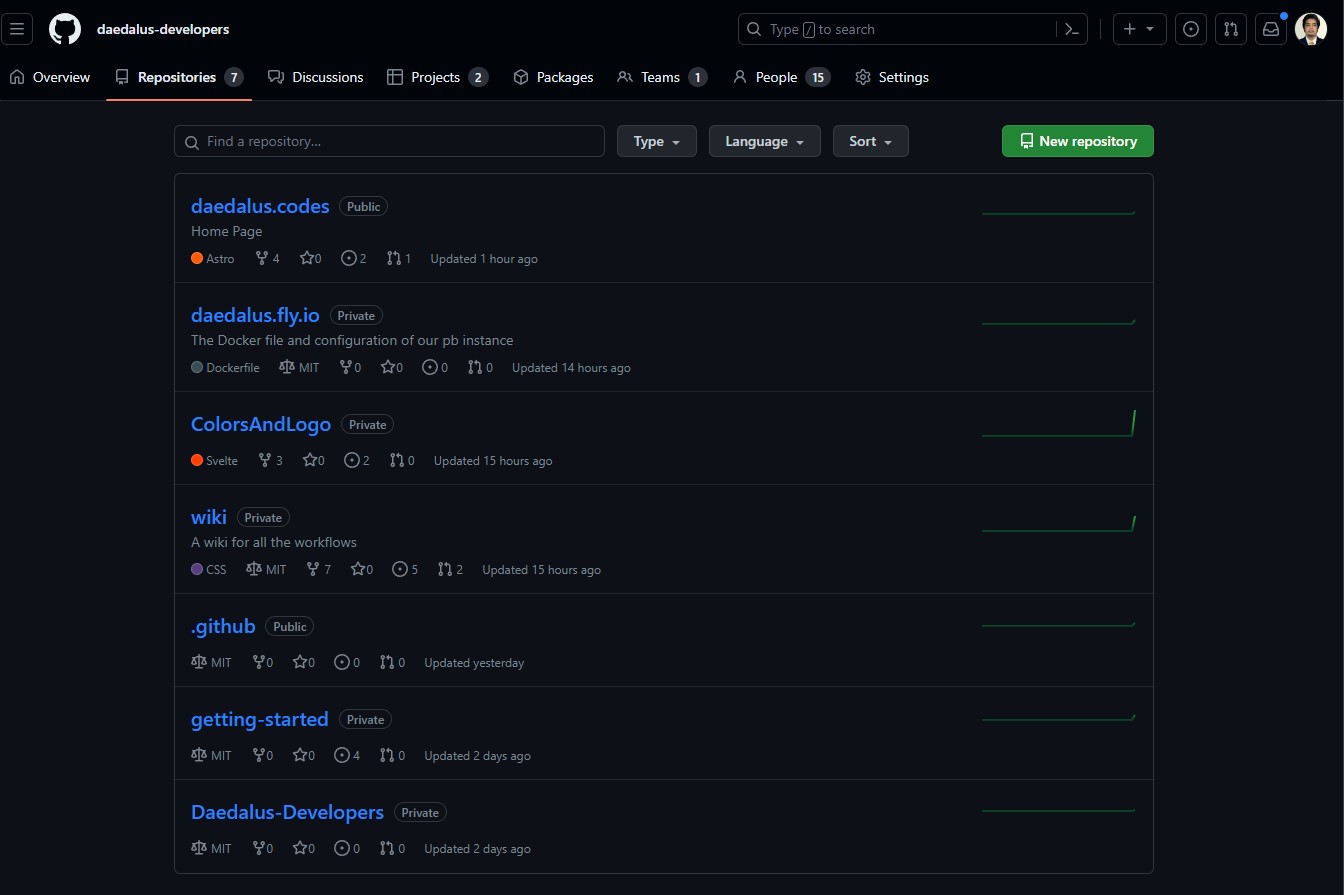
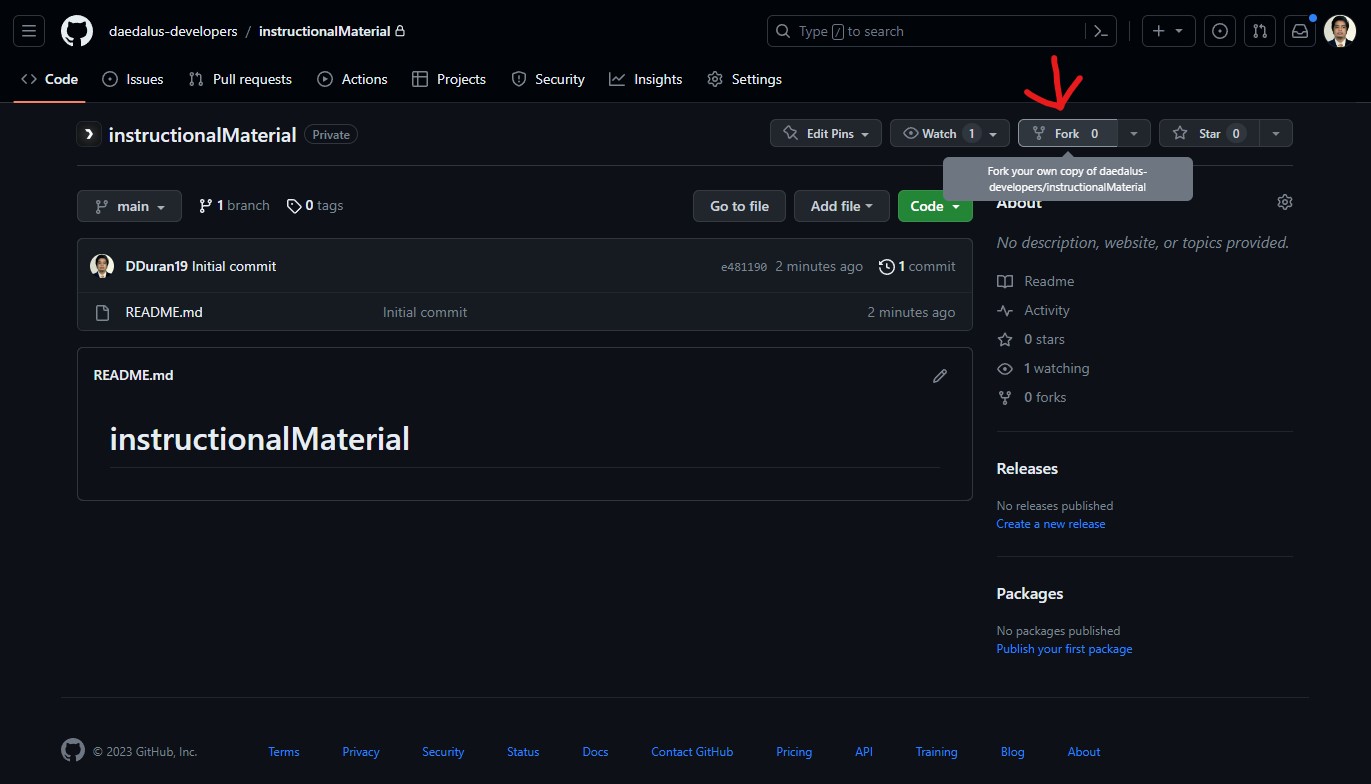
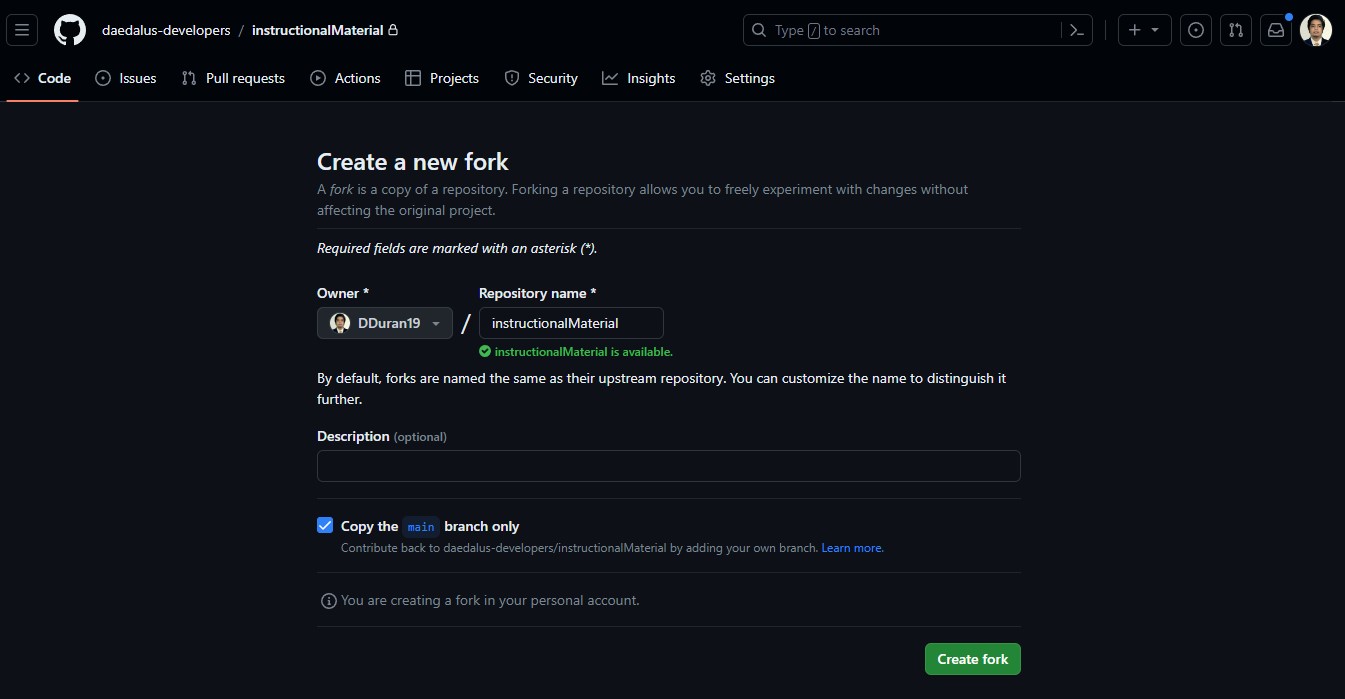
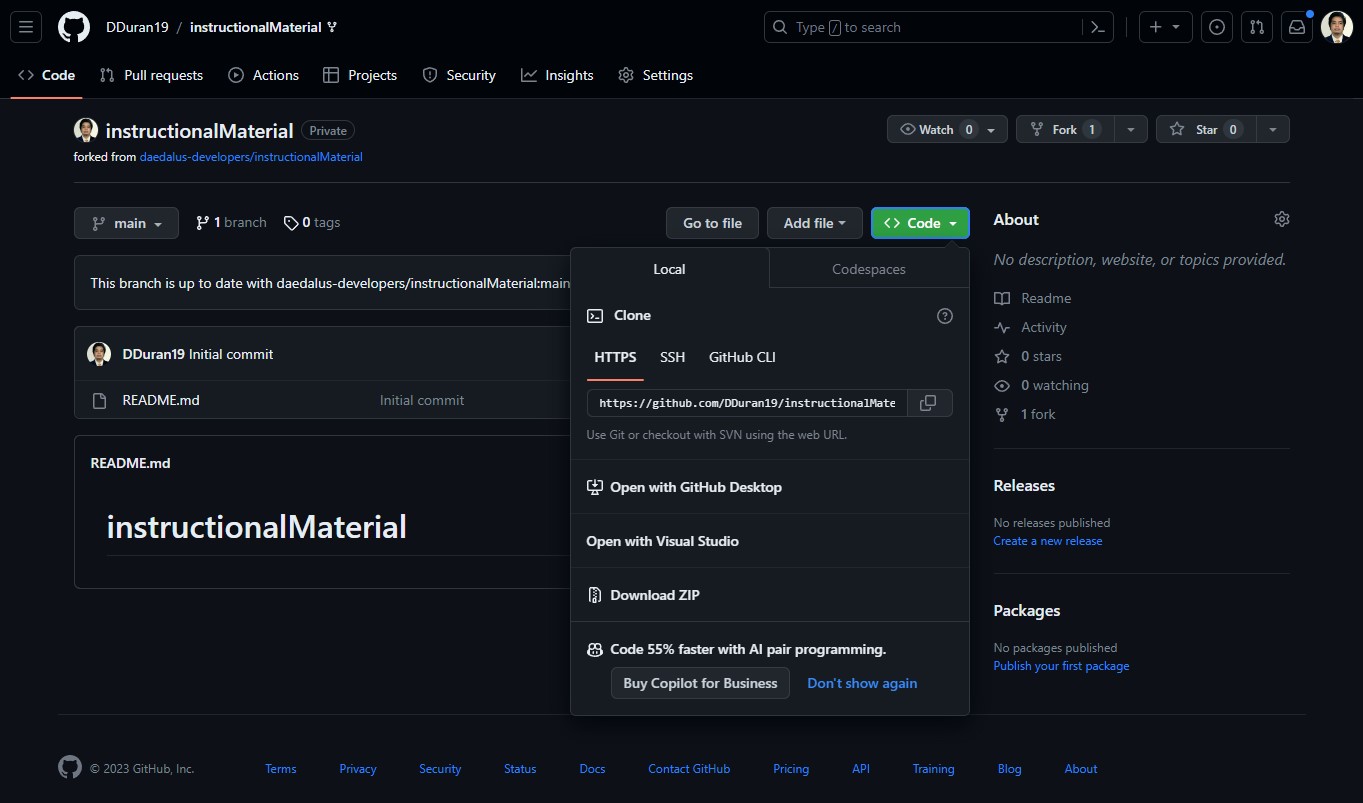
- For this demonstration purposes, we will be using this repo. Fork the repo. This will create a repo on your personal account. Clone it to your local machine using the
git clonecommand.
Issues
An issue is a way to track, discuss, and organize tasks, enhancements, and bugs in a project. It serves as a central hub for communication and collaboration among team members and contributors. Issues can include descriptions, labels, and comments to provide context and updates on the progress of a task or problem.
Sugesting an enhancement
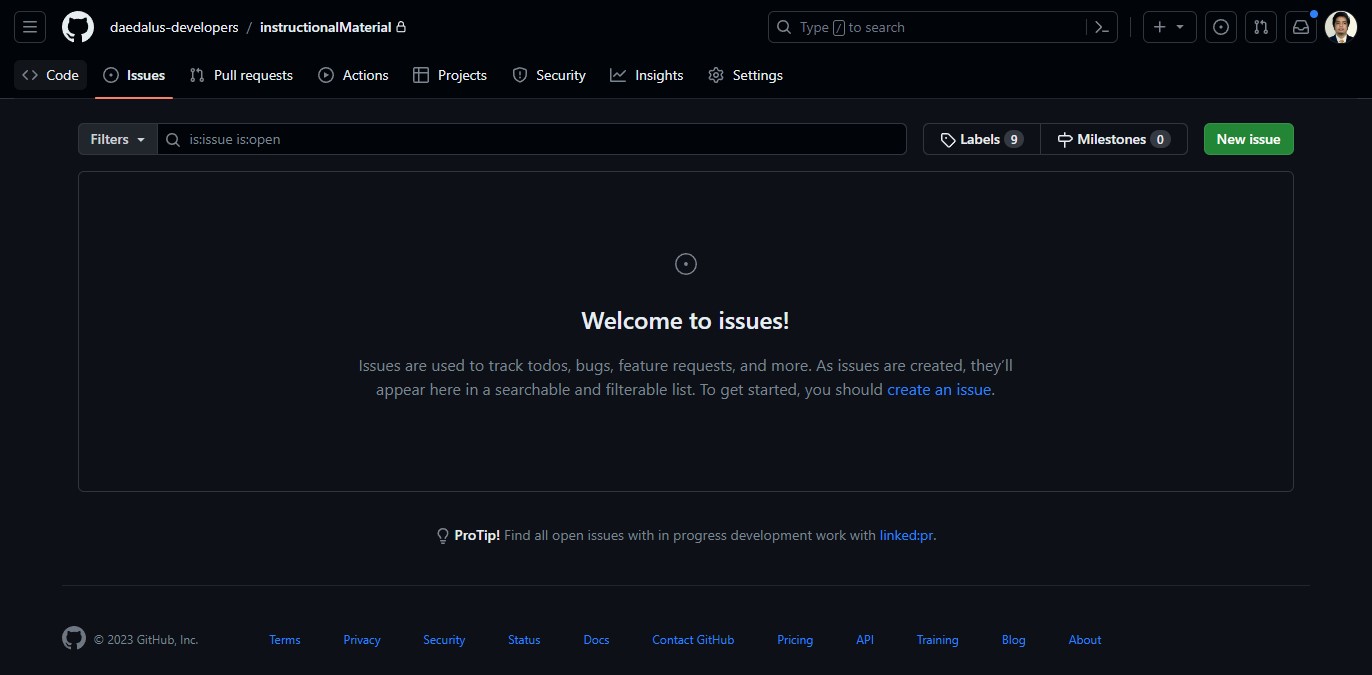
- Go to the main repository of our organization. For demonstration purposes, we'll use this repo. Select the
issuestab to start creating an issue for an enhancement. Select the green button at the right side of the screen wit he labelNew Issue.
- Fill up the necessary information. Make it as descriptive as possible. Checkout the gif below for reference. For now, we just want to add our name on the readme file.
- There are multiple options on the right side of the screen. You can assign it to specific person/ people, or you can assign it to yourself too. You can also click on the label to properly tag the issue category. Choose
enhancementfor label and leave project and milestone for now. After that, submit the new issue.
Congratulations! You have successfully created your first issue!
'Fixing' the issue
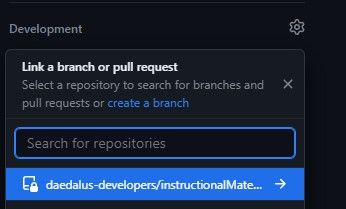
- Now that you've created the issue, one of the team members can now work on it (in this case, you will be the one to work on it). You should now be able to see a
developmentoption on the right side of the screen.
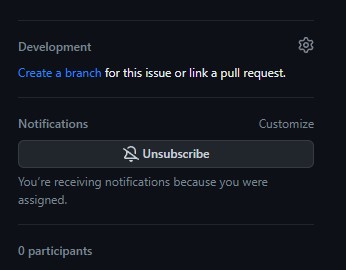
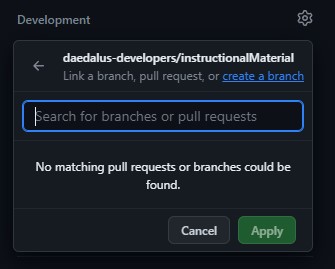
- Select
Create a branchand link it to your existing repo we forked earlier above. This will open up a modal asking you for the branch name. Follow code conventions, use your_username/feature_name.
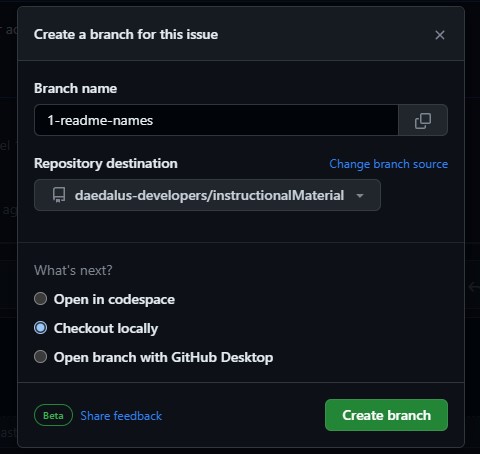
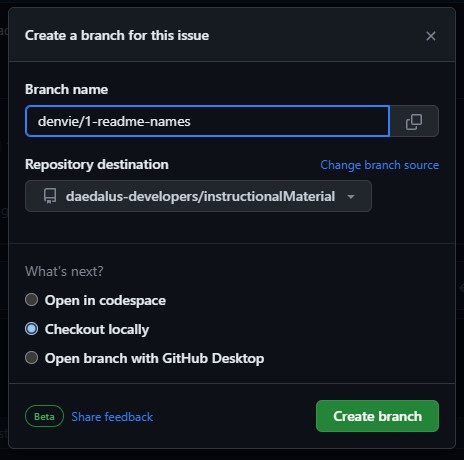
- Copy the code on your terminal. On my case, it's below. you can use the code below, make sure to edit the 2nd line of code to the name you indicated on the step above.
git fetch origin
git checkout -b denvie/1-readme-names
git fetch origin
git checkout -b denvie/1-readme-names- Add your name on the README.md file. Add your changes then commit your changes.
git add .
git commit -m "Add my name on the README.md file"
git push origin denvie/1-readme-names
git add .
git commit -m "Add my name on the README.md file"
git push origin denvie/1-readme-namesNote: Use present tense, instead of past tense (Add vs Added).
Pull Requests
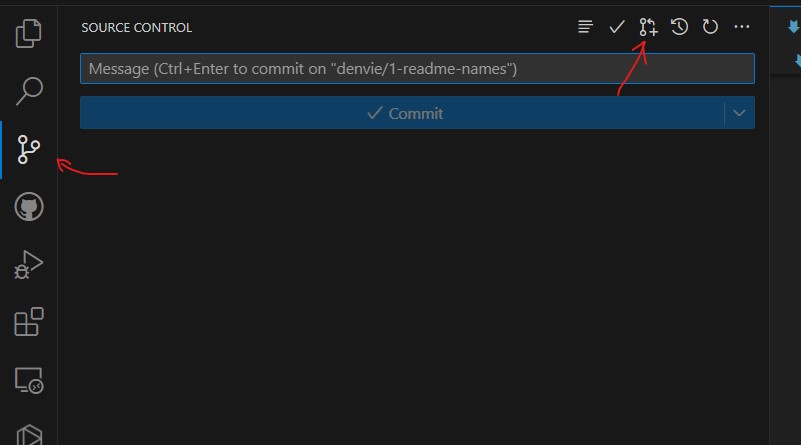
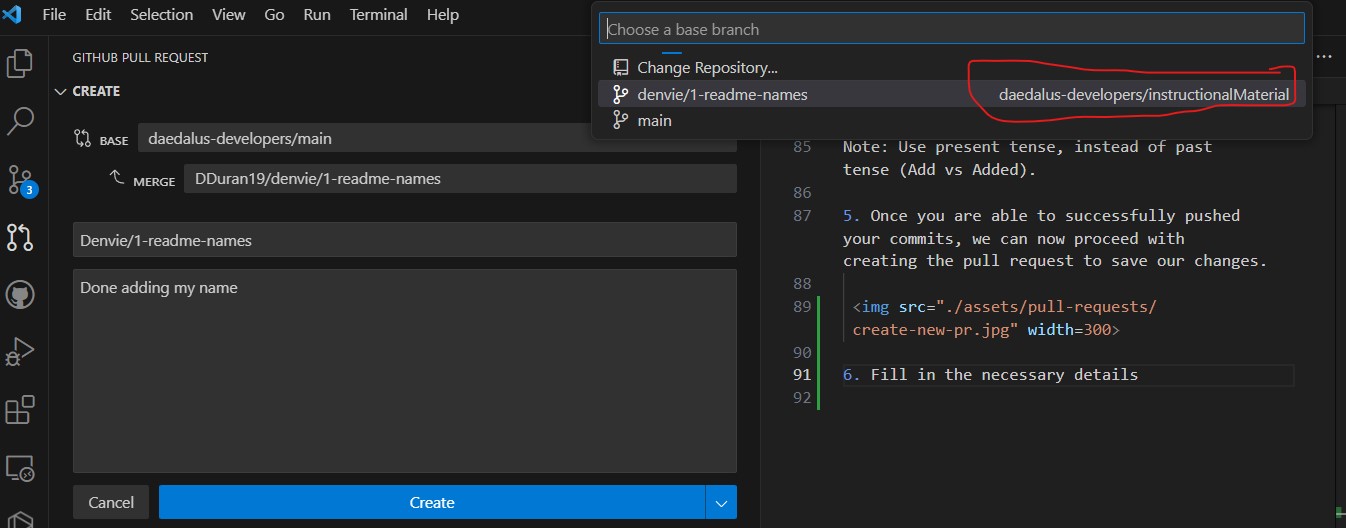
- Once you are able to successfully push your commits, we can now proceed with creating the pull request to save our changes.

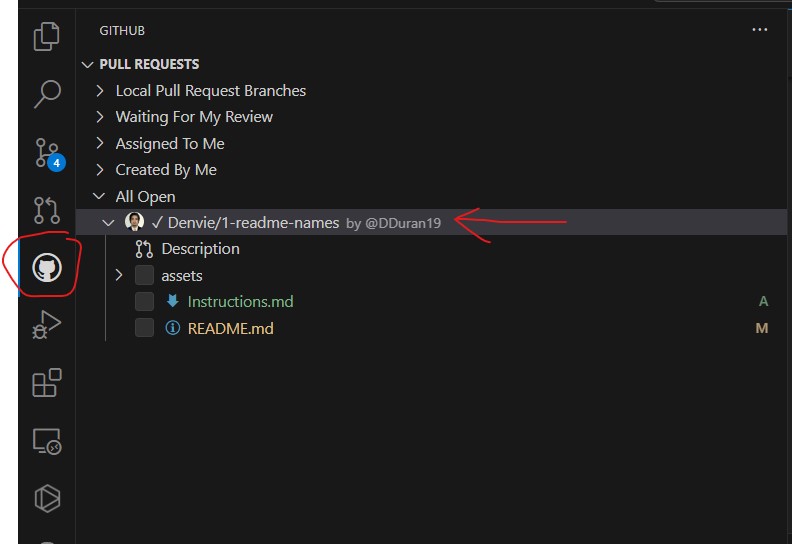
- To verify if your pull request was succesful, Go to Github Actions extension and check out open issues. Wait for the assigned person to approve and merge the changes. You're all goods now!
- Remember to atomically commit any changes you made. Your new commits and push will update on the PR you have sent, so no pushes will be wasted. It's better to commit small changes than to commit large ones for debugging purposes.